
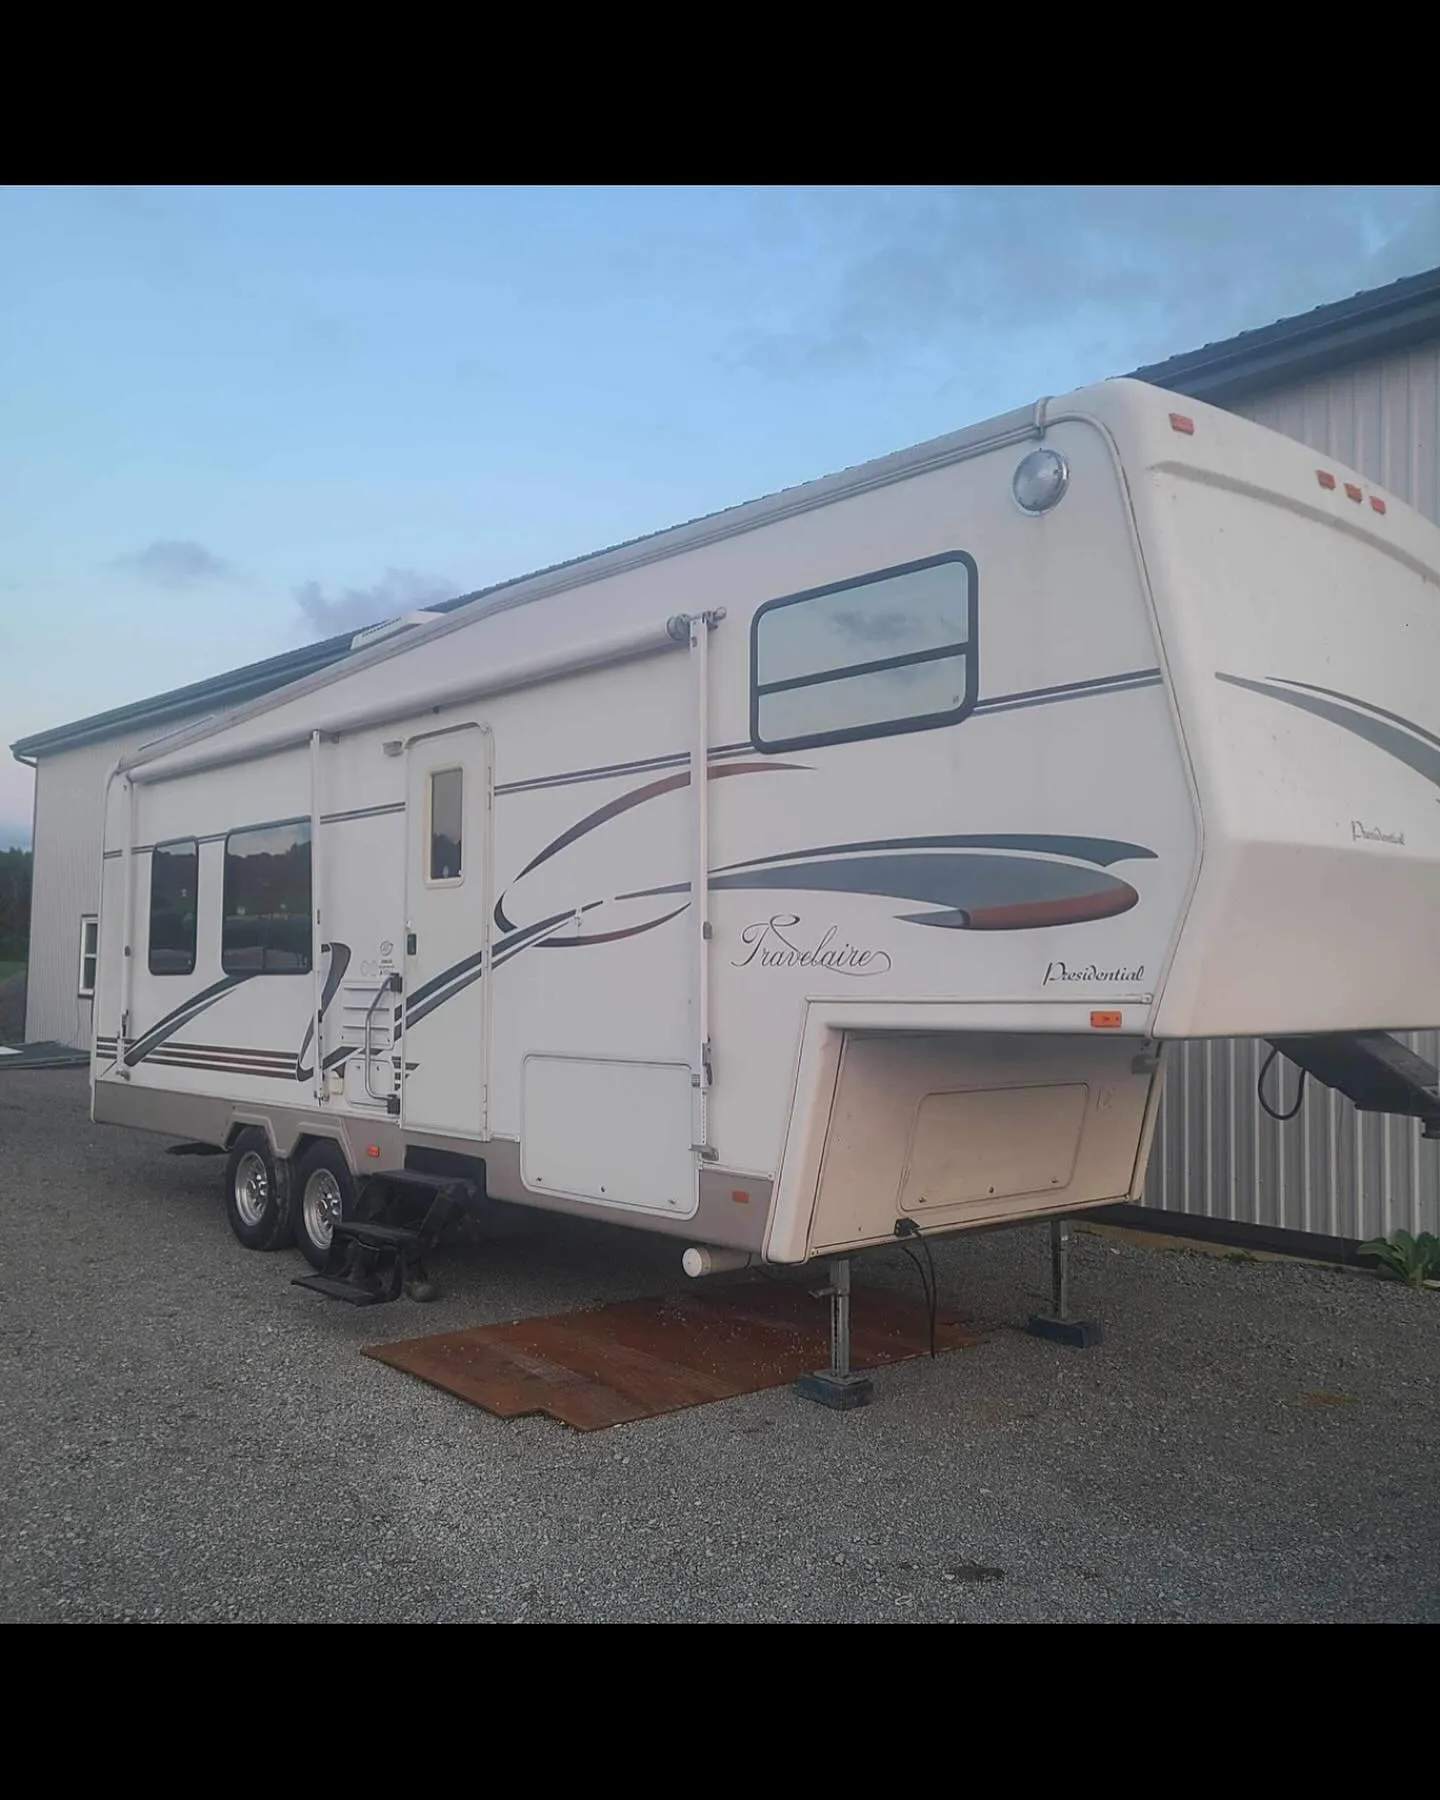
An RV that goes into storage dirty comes out in spring with bugs etched into the front cap, black streaks set into the sidewalls and mildew inside. A few hours of detailing in fall saves a lot of work in spring.
1. Remove Bugs and Road Film
Bug residue is acidic and can etch the finish if it sits all winter. Clean the front cap, mirrors and front end thoroughly.
2. Clean the Roof
Leaves, sap and dirt left on the roof become stains and feed the black streaks you will see in spring. Clean it with the right products for the roof type and check the sealant before snow arrives.
3. Remove Black Streaks
Clean streaks from under the roof edges, windows and awning rails so they don't set over winter.
4. Deal With Oxidation
If the sidewalls or front cap are chalky, fall is a good time to polish, so the finish is protected going into winter rather than oxidizing further.
5. Protect the Exterior
Apply a sealant or ceramic coating before storage. A protected finish resists the grime and moisture of a winter outdoors and washes clean faster in spring.
6. Wheels and Tires
Clean brake dust off the wheels and dress the tires. Covers help protect tires from UV while the RV sits.
7. Interior
Empty the fridge and cupboards, clean the kitchen and bathroom, vacuum carpets and upholstery, and leave cabinet doors open to reduce mildew.
8. Cover or Store Indoors if You Can
A breathable RV cover or indoor storage keeps sun, snow and debris off the finish. Avoid plastic tarps that trap moisture against the surface.
The Bottom Line
Detailing before storage means your RV comes out in spring ready to go, not needing a full restoration. Book it after your last trip and before the snow.